A Beginner's Guide to Feather Plume Care and Cleaning
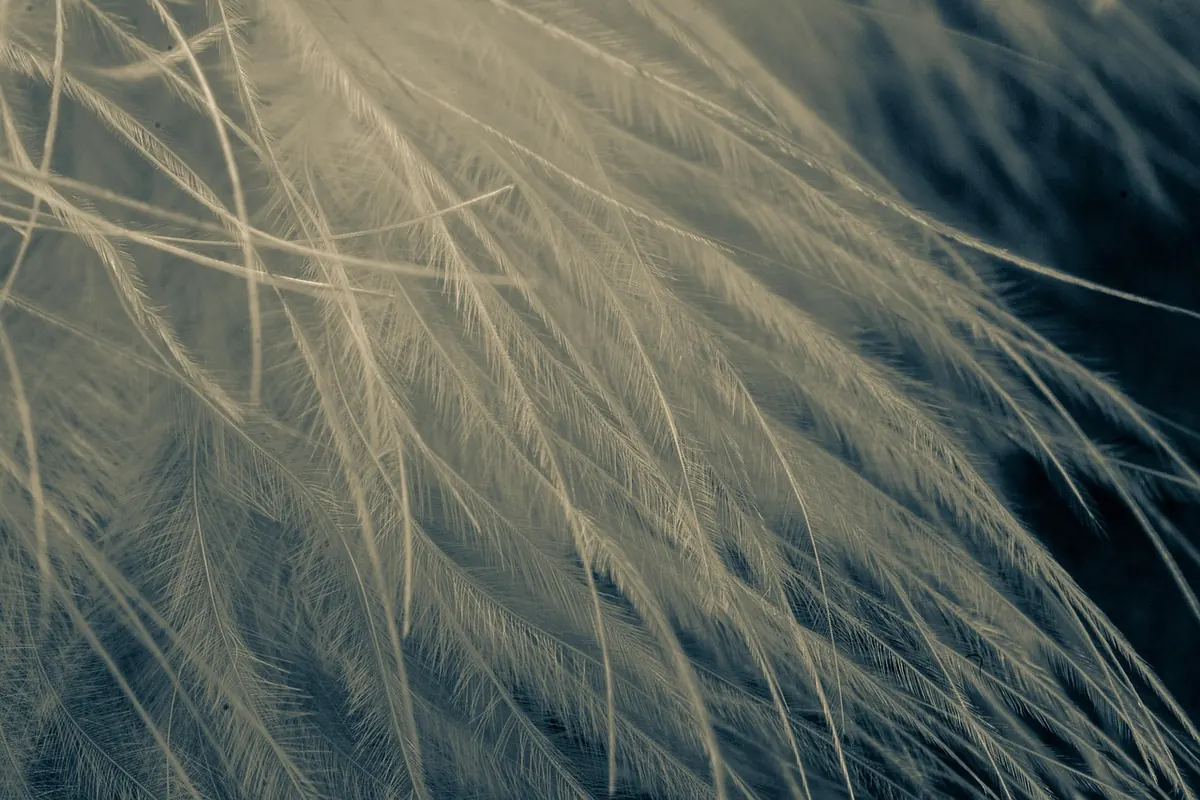
A feather plume is a tougher object than it looks, and a more fragile one than most people expect. The same structure that lets an ostrich feather bend and spring back also lets it tangle, dull and snap when it is handled the wrong way or left somewhere damp for a season.
Keeping plumes full, clean and undamaged is mostly about small habits rather than deep cleaning. Dust little and often, wash rarely, reshape patiently, and store with a bit of thought. That routine takes a few minutes at a time and will keep a display plume looking the way it did the day it arrived.
Feathers are made of keratin, the same protein as hair and fingernails, and the vane holds together because thousands of tiny hooks along each barb grip the barb next to it. Run a feather the wrong way and those hooks break apart, which is why a plume that has been stroked backwards looks flat and fuzzy rather than smooth.
Always work from the quill towards the tip, following the natural line of the feather. Pick a plume up by the quill rather than the vane, and support long feathers with two hands — ostrich plumes in particular whip about and crease easily. If you are showing a plume to someone, hold it by the base and let them look rather than passing it tip-first between you.
Dust settles between the barbs and makes a vane look grey and thin, so a light pass every week or two keeps a display looking sharp. How often depends on the room; an open shelf near a busy hallway needs more attention than a closed cabinet.
Skip canned compressed air, which can spit propellant and leave a mark, and skip feather dusters, which mostly move dust from one place to another. Water sprays sold as fresheners are a bad idea too: a damp vane in a still room is how mould starts.
Hold the plume by the quill with the tip angled downwards. Brush from base to tip with the lightest pressure you can manage — the bristles should barely touch the barbs. Turn the plume over and repeat on the other side, then blow away anything loosened with short, cool bursts from the hairdryer.
If the dust feels sticky or the vane has visible marks, stop brushing. That needs the washing method below, not more pressure.
Most plumes never need washing. Do it when the vane feels tacky, has picked up a stain, or smells of the box it was stored in. Test the method on the tip of the smallest feather first, because dyed feathers can run. Very fine plumes — marabou, chick, anything downy — are better spot-cleaned with a barely damp cloth than dunked.
If a plume has come out of a damp loft with visible mould, it is usually kinder to retire it than to try to rescue it. Wash your hands after handling anything musty.
Steam is the best tool for bringing a tired vane back to shape. Hold the plume over a kettle or a bowl of just-boiled water for a few seconds — long enough for the barbs to relax, not long enough to soak them. Then, with clean dry fingers, smooth from quill to tip and pinch the barbs between thumb and forefinger so the hooks re-zip. Work in small sections rather than trying to do the whole plume at once.
For a curl, wind the damp vane around a finger or a wooden dowel, hold it briefly, then let it dry in that shape. For a plume that has flattened, hang it tip-down while damp and gravity will do part of the work for you.
Never dry a plume with direct heat. A hot hairdryer, a radiator or a sunny windowsill will make the keratin brittle and the tips will frizz permanently. Air-dry at room temperature, flat on a rack or hanging from a clip, and leave it undisturbed for several hours.
Most damage happens in storage rather than on display. Plumes pressed into a bag or squashed under other objects crease, and once the barbs have dried in a folded shape they are difficult to coax back.
Store plumes flat or hanging tip-down. Standing them tip-up in a vase for months at a time lets dust settle deep into the vane and the weight of the plume gradually bends the quill.
Keep plumes out of direct sun and away from doorways where they will be knocked. If you display them in a vase, add a little dry sand or a handful of glass beads to hold the quill steady, and lift the plume out by the base when you dust instead of tugging at the tip. Rotate anything on open display so no single piece is exposed year after year.
Weekly, run a soft brush from quill to tip. Monthly, check for pests, dust again and reshape any curls that have relaxed. Once a year, or whenever a plume looks grubby, wash the sturdy ones, replace the tissue in the storage boxes and give the cupboard a wipe out.
That is the whole method. Gentle hands, cool air, steam when you need it, and somewhere dry and roomy to rest. Do that and a well-made plume will hold its shape and colour for years.
Previous Post
How to Choose the Right Display Stand for Large Feather Plumes
Next Post
7 Common Mistakes When Displaying Feathers at Home